
The right off-season checklist for camping gear follows four steps in order: clean every item, let it dry completely, inspect and repair what’s worn, then pack it in breathable containers suited to each piece of gear. Skipping the drying step is the single biggest cause of mold in stored gear, and it’s the step most “pack it up” articles skip over.

Key takeaways
- The order matters: clean, then dry, then inspect and repair, then pack. Doing these out of order — packing before gear is fully dry, for example — is what causes most off-season mold and odor problems.
- The US Environmental Protection Agency (EPA) notes that mold can begin growing on damp materials within 24-48 hours, which is why the drying step can’t be rushed or skipped.
- Fuel canisters and propane cylinders follow a separate rule: stored upright, outdoors or in a well-ventilated space, away from ignition sources — never in an interior closet, per the Propane Education and Research Council (PERC).
- REI’s care guidance recommends storing a sleeping bag loose in a large, breathable sack rather than compressed in its trail stuff sack, since compression over months can permanently flatten both down and synthetic insulation.
- A single pack-away session isn’t the whole system — a short mid-winter check and a spring pull-out and re-inspection turn this into a repeatable yearly habit instead of a one-time scramble.
Why Does the Order of Steps Matter for Off-Season Storage?
Most seasonal storage advice online comes from self-storage companies trying to sell a storage unit, and it tends to list tips in no particular order: clean this, fold that, label a box. But the order of operations is what actually prevents the two most common off-season failures — mold from packing something away damp, and a ruined first trip of next season because a broken zipper or a dead stove wasn’t caught until the morning you needed it.
That’s the gap this checklist fills. It’s one piece of a larger storage system — if you haven’t decided where gear should physically live year-round, start with our complete camping gear storage system guide, then come back here for the seasonal pack-away routine itself.
What Is the Month-by-Month Off-Season Storage Checklist?
The graphic and table below map the same six-step routine onto the US camping calendar: clean, dry, and inspect/repair right after your last trip of the year, then pack, check once mid-winter, and pull everything back out and re-inspect it in spring. Your own dates will shift earlier or later depending on your region’s real camping season — treat the months as a guide, not a rule.
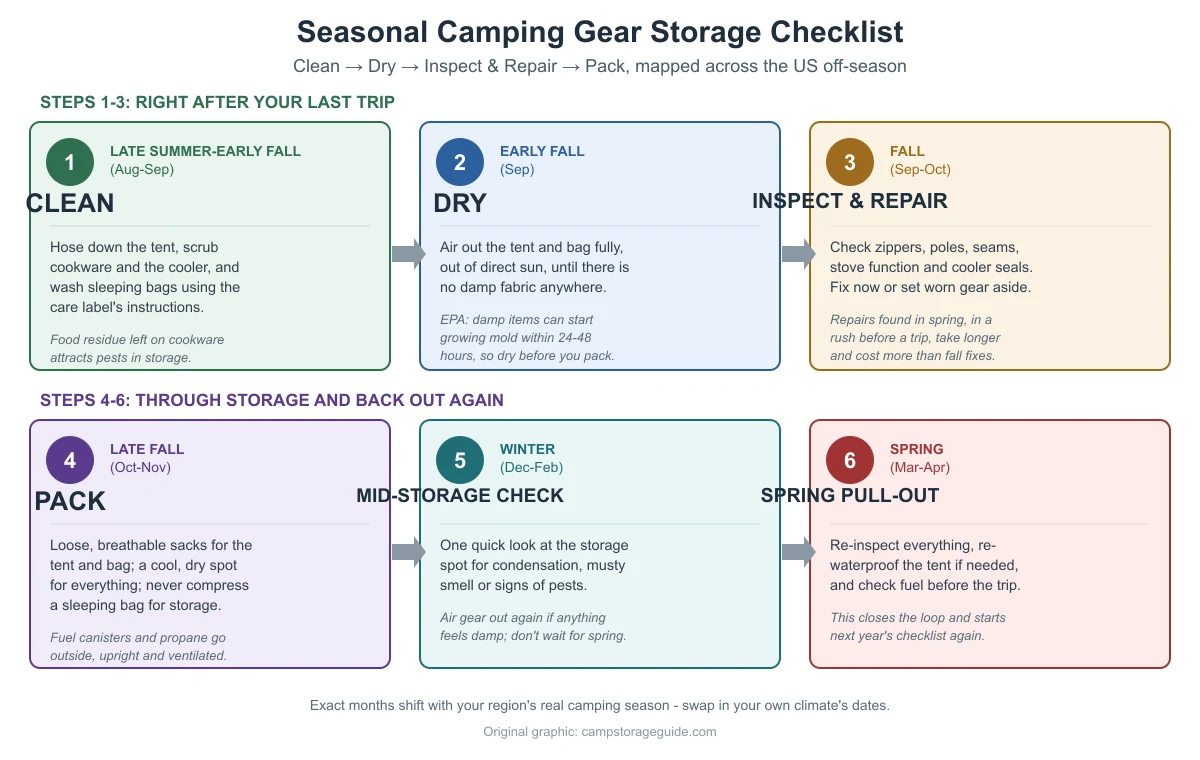
| Step | Stage | US Season / Months | What to Do |
|---|---|---|---|
| 1 | Clean | Late summer-early fall (Aug-Sep) | Hose down the tent, scrub cookware and the cooler, wash sleeping bags per the care label. |
| 2 | Dry | Early fall (Sep) | Air out the tent and bag fully, out of direct sun, until no fabric feels damp anywhere. |
| 3 | Inspect & repair | Fall (Sep-Oct) | Check zippers, poles, seams, stove function and cooler seals. Fix now or flag for repair. |
| 4 | Pack | Late fall (Oct-Nov) | Loose, breathable sacks for tent and bag; cool, dry storage spot; fuel stored separately outdoors. |
| 5 | Mid-storage check | Winter (Dec-Feb) | One quick look at the storage spot for condensation, musty smell or pest activity. |
| 6 | Spring pull-out | Spring (Mar-Apr) | Re-inspect everything, re-waterproof the tent if needed, replace fuel if it’s due before a trip. |
How Do You Clean Camping Gear Before Putting It Away?
Clean before dry, dry before pack — never the reverse. Hard-sided items like a cooler and cookware get a scrub with warm water and mild dish soap, paying attention to lids, gaskets and any seam where food residue can hide; leftover grease or food attracts pests even inside a sealed bin. Fabric items get washed according to their own care label rather than one generic method: a tent can usually be set up and hosed down, while a down or synthetic sleeping bag often needs a gentler, specific detergent rather than regular laundry soap.
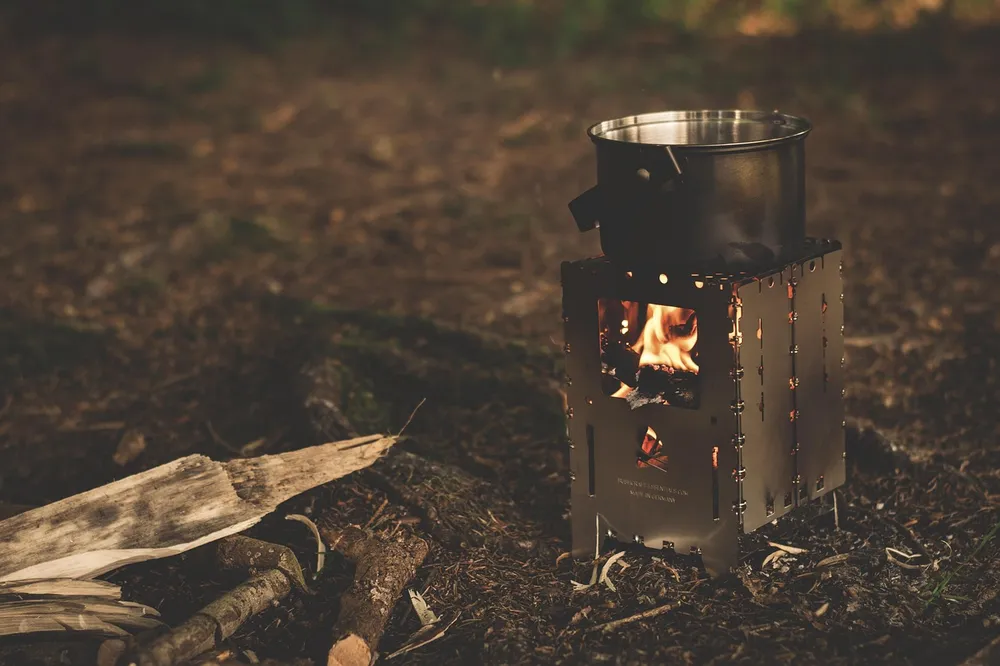
Don’t skip the small stuff. Guy lines, stakes, poles and any metal hardware should be wiped down too, since trapped dirt holds moisture against metal and invites corrosion over a long winter in storage.
How Long Does Camping Gear Need to Dry Before Storage?
Long enough that no part of the item feels damp to the touch — there isn’t a single official number of hours, because it depends on humidity, airflow and fabric thickness. What is specific is the risk of rushing it: the EPA’s guidance on mold and moisture states that mold can begin growing on wet materials within 24-48 hours under the right conditions, which is the whole reason the dry step exists as its own stage instead of being folded into cleaning or packing.
REI’s care guidance for sleeping bags recommends hanging a bag over a line or a large hanger in a covered outdoor space for roughly 6 to 8 hours to air it out fully, while also warning against leaving it in direct sunlight, since UV exposure can weaken the fabric over time. A tent typically needs longer, especially around seams, stake loops and the floor, where trapped moisture is easiest to miss in a quick visual check.
For a full room-by-room setup once your gear is dry and you’re deciding exactly where it should live, see our guide to preventing mold and mildew on stored camping gear, which covers humidity targets and airflow by storage location.
What Should You Inspect and Repair Before Packing Gear Away?
Fall, right after your last trip, is the cheapest time to find a problem — not the morning of next year’s first trip. Work through gear the same way each season so nothing gets skipped:
- Tent: zippers (do they catch or stick?), pole segments (any bent or splintered sections?), seams and stake loops (any tears starting?).
- Sleeping bag: zipper pull and baffles, and any spots where insulation has shifted or thinned.
- Stove: does it still light cleanly, and are the fuel line and connections free of residue or cracking?
- Cooler: does the lid gasket still seal, and are the latches and hinges intact?
- Packs and bags: straps, buckles and seams under load points.
Anything that needs a replacement part or a repair you can’t do yourself goes on a list now, while you still have months before the next trip to order the part or get it fixed — not three days before you leave.
How Should You Pack Tents, Sleeping Bags and Cookware for Storage?
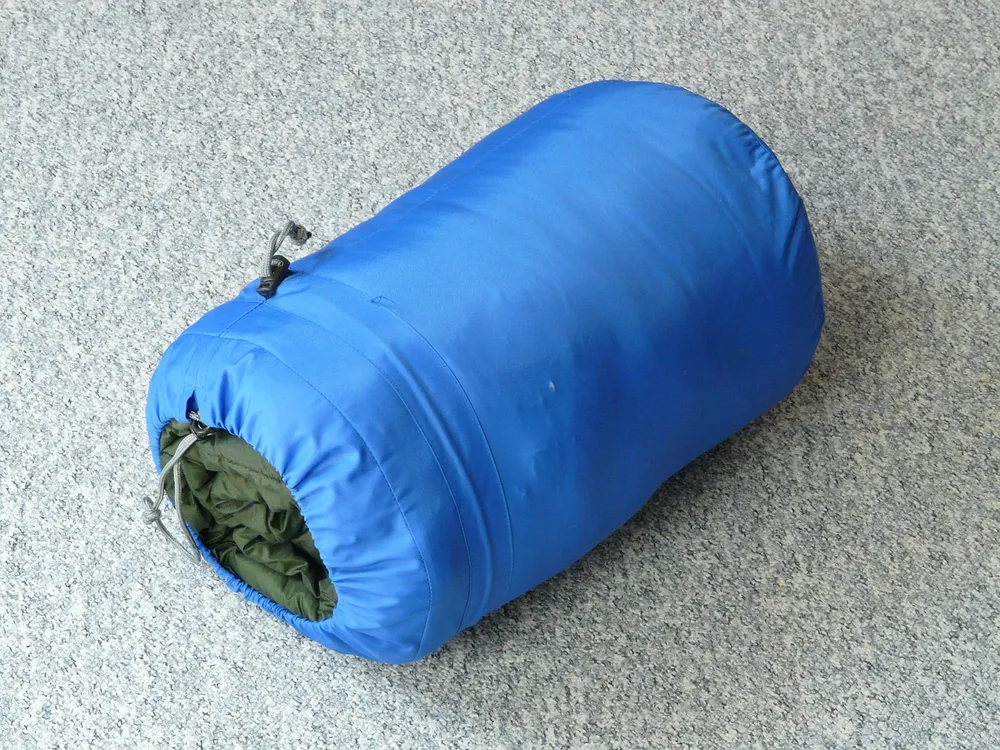
Once gear is clean, dry and repaired, how you pack it affects how it performs next season. REI’s guidance on sleeping bag storage is specific on this point: store the bag loose in a large, breathable cotton or mesh storage sack — not compressed in the small stuff sack used on the trail — because both down and synthetic insulation lose loft under long-term compression, and synthetic fill tends to recover worse than down once it’s been compressed for months.
A tent follows a similar rule: loosely packed in a large cotton or breathable bag rather than crammed back into its original tight stuff sack, which puts the same long-term stress on the fabric and seams. Cookware and small hardware are the exception — these do fine in sealed plastic bins, since they aren’t sensitive to compression and a sealed bin actually keeps dust and pests out between seasons. REI also recommends avoiding airtight, watertight containers for tents and bags specifically, since trapped humidity inside a sealed container has nowhere to go.
Where Should Fuel Canisters and Propane Go During the Off-Season?
This is the one step that breaks from “pack it with the rest of your gear.” Fuel canisters and propane cylinders should never be stored inside a closet or other interior living space. The Propane Education and Research Council (PERC) recommends storing portable propane cylinders outside or in a well-ventilated area, upright on a stable surface, kept away from ignition sources and out of enclosed spaces like basements and interior closets.
Keep the valve closed and the protective cap on when a canister isn’t connected to a stove, and store it separately from the stove itself rather than leaving them together in one bin. An unopened, undamaged canister can last a long time in storage, but it still needs its own ventilated spot, year-round — this one rule doesn’t change by season.
Do You Need to Check on Gear During the Off-Season?
Yes, once is usually enough. A single mid-winter look at wherever you’re storing gear catches most problems before they get serious: condensation on the inside of bins or bags, a musty smell that wasn’t there in the fall, or any sign of rodent activity near fabric or food-adjacent gear. None of these take long to check, and catching them in January beats discovering a ruined sleeping bag the week before your first spring trip.
Spring pull-out is the second half of the loop, not an afterthought. Re-inspect everything the same way you did in fall, re-apply waterproofing to the tent if it’s due, and check whether fuel canisters need replacing before you actually head out. This is also a natural point to decide whether anything just isn’t earning its storage space anymore — if a piece of gear has sat untouched through two full seasons, our guide to decluttering camping gear you don’t use walks through the keep, repair, sell or donate decision for exactly that situation.
Frequently Asked Questions
How long should camping gear dry before you store it?
Until no part of it feels damp to the touch, not a fixed number of hours. REI recommends roughly 6 to 8 hours of hanging a sleeping bag outdoors (out of direct sun) to air it fully; a tent, especially around seams and stake loops, often needs longer. The EPA notes mold can start within 24-48 hours on damp materials, which is why rushing this step is the most common storage mistake.
Can you store a sleeping bag in its trail stuff sack long term?
It’s better not to. REI’s care guidance recommends a large, breathable storage sack instead, since long-term compression in a small stuff sack can permanently reduce the loft of both down and synthetic insulation, with synthetic fill generally recovering worse than down.
Is it OK to store propane canisters in a garage or closet?
No, not in an interior closet, and generally not in an attached garage used as living space either. PERC’s safety guidance calls for propane cylinders to be stored outside or in a well-ventilated area, upright, away from ignition sources, and out of enclosed interior spaces.
Do I need to check stored gear during the winter?
A single mid-winter check is enough for most households. Look for condensation, a musty smell or signs of pests in the storage area, and air anything out again if it feels damp. Waiting until spring to look can let a small problem turn into a ruined piece of gear.
What’s the single biggest mistake people make packing away camping gear?
Packing it before it’s fully dry. Cleaning gear and then boxing it up the same day, before every damp spot has had time to air out, is the most common cause of mold, mildew and lingering odor in stored camping gear.
Sources
- US Environmental Protection Agency — A Brief Guide to Mold, Moisture and Your Home
- REI Co-op care guidance — How to Clean, Waterproof & Care for a Tent and How to Store a Sleeping Bag
- Propane Education and Research Council (PERC) — Safety Guide for Portable Propane Cylinders
campstorageguide.com Editorial Team. Last updated: November 12, 2026.