
Organize camping gear into four separate kits — car camping, backpacking, day trip, and overnight-with-kids — built around one unchanging core: a duplicate Ten Essentials pouch in each bag. Items specific to that trip type stay pre-packed inside its kit; shared gear like tents and cookware rotates in from storage right before you leave, then back out when you return.
Key Takeaways
- Keep a duplicate Ten Essentials pouch permanently packed in all four kits, instead of one shared pouch you move between bags each trip.
- Each kit has its own “stays pre-packed” layer that never leaves that bag, plus a “rotates in” layer pulled from shared storage right before you go.
- Car camping and an overnight trip with kids can share one camp kitchen box; backpacking and day trips never touch it.
- The National Park Service’s Ten Essentials — navigation, sun protection, extra clothing, illumination, first aid, fire, repair kit, nutrition, hydration, and emergency shelter — belong in every kit, scaled to trip length.
- Never run a fuel-burning stove, lantern, or heater inside a tent or other enclosed shelter, in any kit, at any time, according to the CDC.
What Is a Trip-Type Kit System?
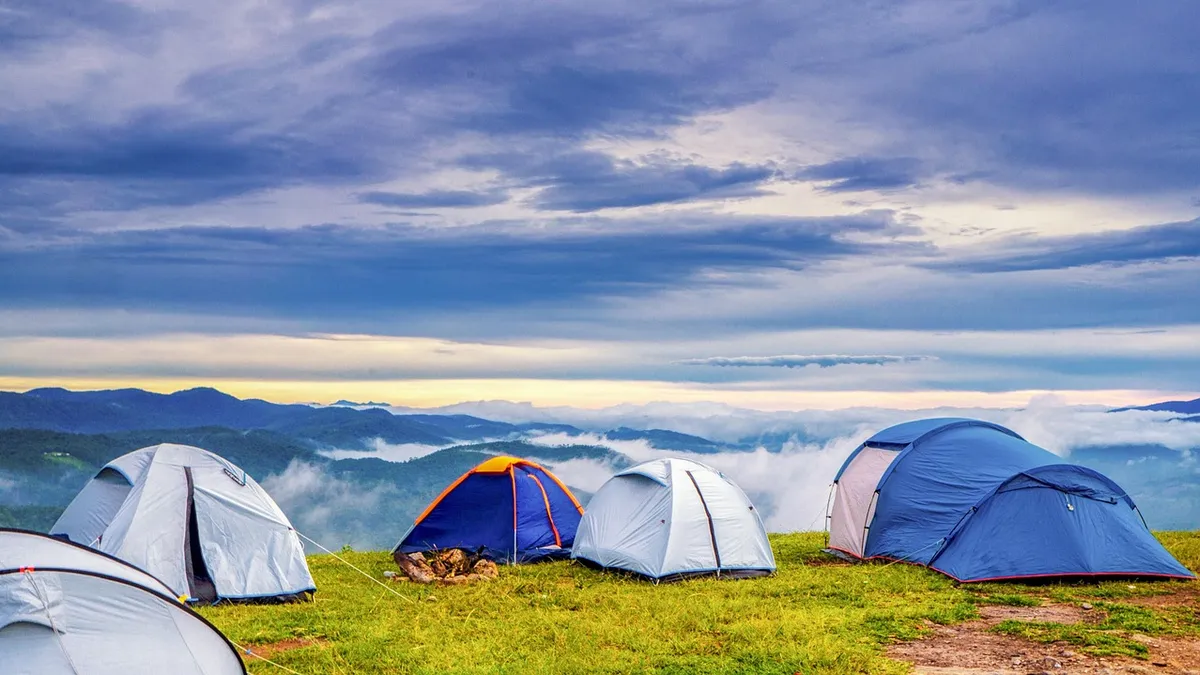
Most packing advice treats camping gear as one long list, whether you’re driving to a campground or carrying everything on your back. That ignores the real difference between trip types: car camping has no weight limit and a cooler full of food, backpacking has to fit on one person’s spine, a day trip needs none of your sleeping or cooking gear at all, and an overnight trip with kids adds a layer of safety items the other three don’t. A trip-type kit system sorts gear into four separate, pre-packed kits so you grab one bag and go, instead of reassembling your gear pile before every trip.
The graphic and table below break each kit into three layers: what stays pre-packed inside that kit permanently, what rotates in from shared storage right before you leave, and what you can skip entirely for that trip type.
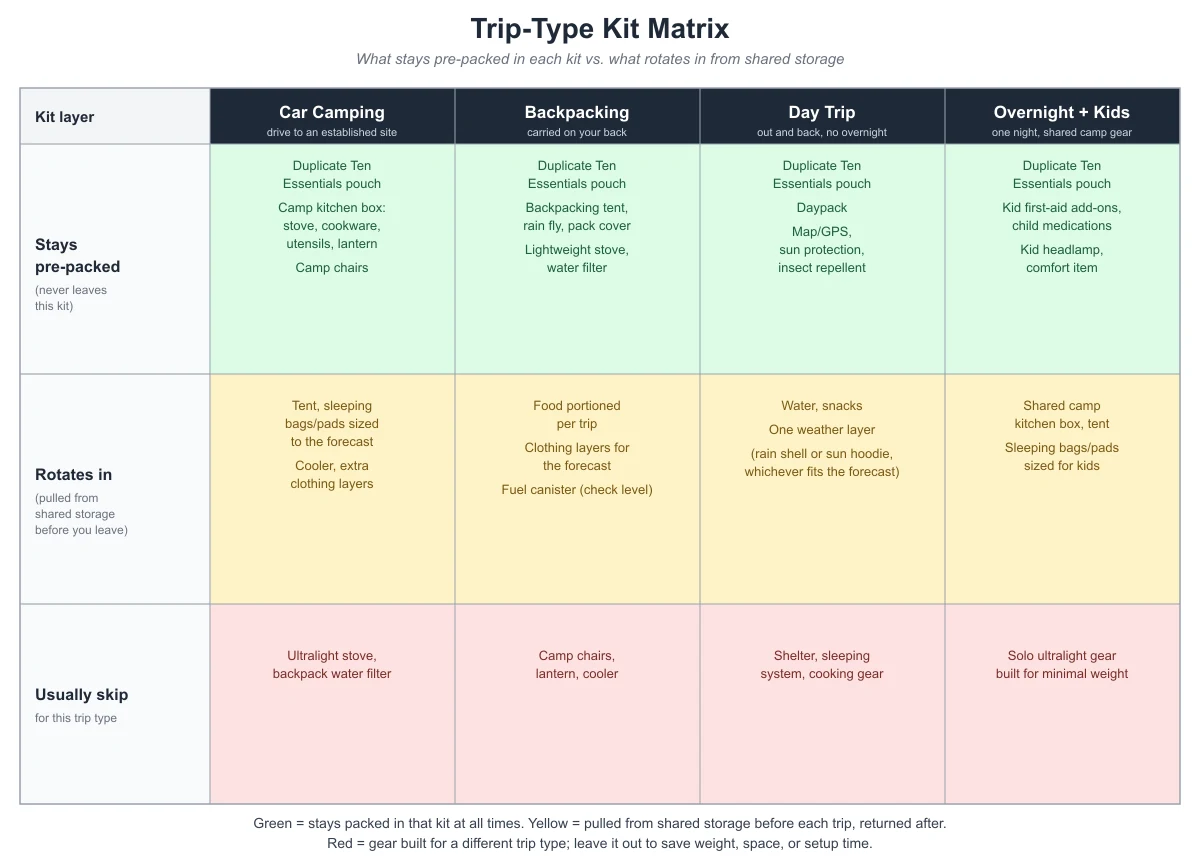
| Kit layer | Car camping | Backpacking | Day trip | Overnight + kids |
|---|---|---|---|---|
| Stays pre-packed | Duplicate Ten Essentials pouch; camp kitchen box (stove, cookware, utensils, lantern); camp chairs | Duplicate Ten Essentials pouch; backpacking tent with rain fly and pack cover; lightweight stove; water filter | Duplicate Ten Essentials pouch; daypack; map or GPS | Duplicate Ten Essentials pouch; kid-specific first-aid add-ons and medications; kid headlamp; comfort item |
| Rotates in before the trip | Tent, sleeping bags/pads sized to the forecast; cooler; extra clothing layers | Food portioned per trip; clothing layers for the forecast; fuel canister (check the level first) | Water, snacks; one weather layer (rain shell or sun hoodie, whichever fits the forecast) | Shared camp kitchen box and tent; sleeping bags/pads sized for kids |
| Usually skip | Ultralight stove, backpack water filter | Camp chairs, lantern, cooler | Shelter, sleeping system, cooking gear | Solo ultralight gear built for minimal weight |
Not every household needs all four kits. Build the ones that match the trips you actually take, and treat the “stays pre-packed” row as the one rule that makes the whole system work: once an item earns a spot there, it doesn’t leave that kit to solve a problem in another one.
What Stays in Every Kit, No Matter the Trip?
The one layer every kit shares is a version of the National Park Service’s Ten Essentials: navigation, sun protection, extra clothing, illumination, first-aid supplies, fire, a repair kit and tools, nutrition, hydration, and emergency shelter. The NPS frames these as items you pack “before heading out to any national park activity,” not just backcountry trips, which is why they belong in the car-camping and day-trip kits as much as the backpacking one.
The practical trick is to duplicate this pouch rather than share one copy between kits. A single shared Ten Essentials bag means the day it’s in your backpacking pack is the day your car-camping kit is missing a first-aid kit and a flashlight. Four small, separately stocked pouches cost more up front but remove that failure point completely, since each kit is always complete on its own.
How Do You Build a Car Camping Kit?
Car camping is the one trip type with no weight limit, so the kit can stay pre-packed with real comfort gear: a dedicated camp kitchen box holding a stove, cookware, utensils, and a lantern, plus a set of camp chairs. None of this gear should double as household gear, since mixing them is what causes a missing spatula or lighter on travel day.
What rotates in from shared storage right before you leave is the gear sized to that specific trip: the tent, sleeping bags and pads matched to the forecast, a cooler, and any extra clothing layers. Because weight doesn’t matter here, you can skip the backpacking-specific gear entirely — an ultralight stove or a backpack water filter has no job to do at a drive-up campsite with a picnic table and, often, a water spigot.
How Do You Build a Backpacking Kit?
Olympic National Park’s wilderness travel guidance is specific about what changes once gear has to be carried: it recommends wool, polypropylene, or polar fleece for clothing, “as they retain their insulation value even when wet,” and advises against cotton, which stays cold and wet once it’s soaked through. The same guidance lists a three- or four-season tent with a rain fly, a pack cover, and plastic bags for protecting gear from moisture as backpacking-specific equipment, along with an ice axe for snow travel and a garden trowel for burying waste where no toilet exists.
That translates into a kit where the backpacking tent, rain fly, pack cover, a lightweight stove, and a water filter stay pre-packed, since they’re never useful for any other trip type. What rotates in is food portioned for the specific number of days, clothing layers matched to the forecast, and a fuel canister you check the level on before every trip, since a backpacking stove run dry on day two of a trip is a problem a car-camping kit never has to solve. Skip the car-camping comfort items — chairs, a lantern, a cooler — since every ounce here has to justify itself on your back.
How Do You Build a Day-Trip Kit?
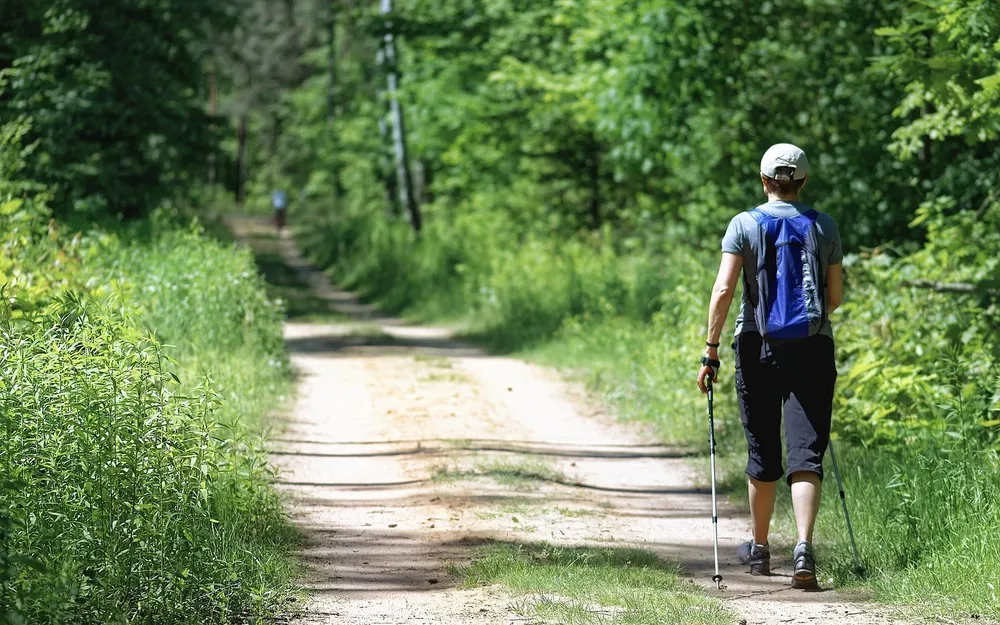
A day trip is the simplest kit precisely because it needs none of the other kits’ bulk: no shelter, no sleeping system, no cooking gear. What stays pre-packed is a duplicate Ten Essentials pouch, the daypack itself, and a map or GPS device, so the bag is always ready without a last-minute check for batteries or a compass.
What rotates in is trip-specific and perishable: water, snacks, and a single weather layer chosen for that day’s forecast, whether that’s a rain shell or a lighter sun layer. Because there’s no overnight component, the whole kit can live on a hook or shelf near the door rather than in a bigger storage area, which makes it the fastest kit to grab on short notice.
How Do You Build an Overnight-With-Kids Kit?
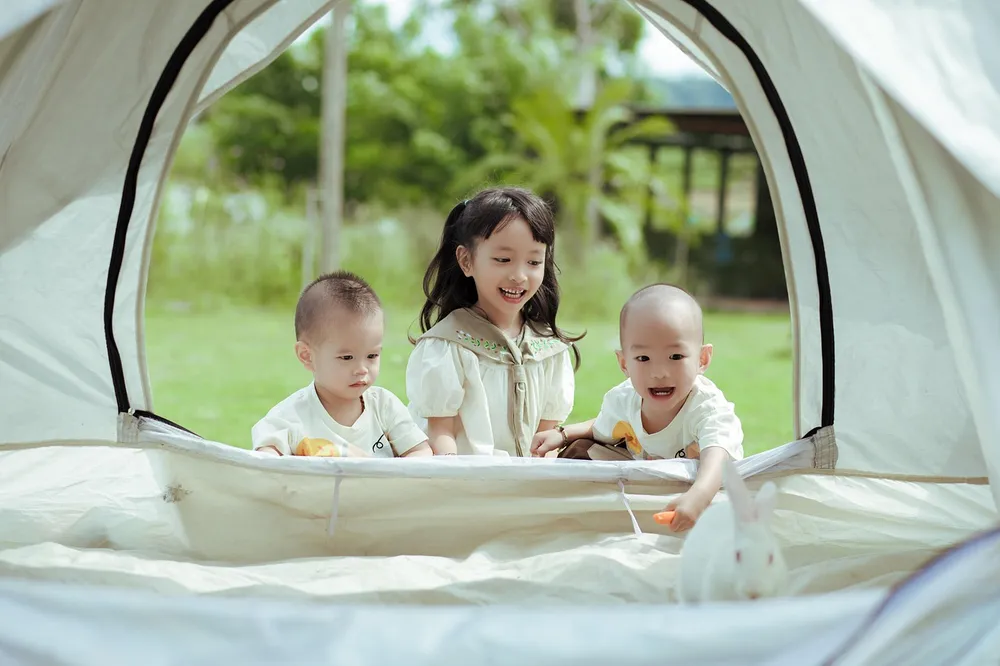
The CDC’s camping health and safety guidance recommends a supply kit that includes a first-aid kit, a compass or GPS, a map, a flashlight, blankets, batteries, food, water, clothes, and medications — a longer list than the Ten Essentials alone, reflecting the extra margin a family trip needs. What stays pre-packed in this kit on top of the duplicate Ten Essentials pouch is anything specific to the kids in your group: their own medications, a kid-sized headlamp, and a comfort item like a small stuffed animal or blanket.
What rotates in is the shared camp kitchen box and tent (the same ones used for car camping) along with sleeping bags and pads sized for kids rather than adults. The CDC also flags two safety points worth building into this kit specifically: apply insect repellent containing DEET to exposed skin and check for ticks daily, removing them promptly, and wear long sleeves, pants, and light-colored clothing to spot ticks more easily. The CDC is explicit on one more point that applies to every kit, not just this one: never use fuel-burning equipment — gas stoves, heaters, lanterns, or charcoal grills — inside a tent, camper, or other enclosed shelter, because of the carbon monoxide risk. Build that rule into how you use the kit, not just what’s in it.
How Do You Keep Kits From Draining Your Shared Storage?
The system only holds up if “rotates in” items actually go back to shared storage after a trip, instead of drifting into whichever kit was unpacked last. Unpacking is where that discipline either happens or doesn’t: when you get home, the pre-packed layer stays zipped inside its kit, and everything that rotated in — the tent, the cooler, the sleeping bags — gets cleaned, dried, and returned to the shared shelf it came from. Our pre-trip and post-trip checklist system covers that pull-list and put-back workflow in detail, so unpacking doesn’t turn into four kits worth of gear scattered across the garage floor.
Where you physically keep the kits and the shared storage behind them depends on your space. Our complete camping gear storage system guide walks through matching each kit and its shared items to a garage, shed, closet, or apartment. If you’re working with limited square footage, the small apartment storage guide covers fitting four kits into under-bed, closet, and wall-hook zones without needing a garage at all.
Frequently Asked Questions
Should every kit have its own first-aid kit, or can I share one?
Give each kit its own first-aid supplies rather than moving one kit between bags. A shared first-aid kit means the day it’s packed for a backpacking trip is the day your car-camping kit has none. Keep a smaller kit in each pre-packed bag, and a larger, more complete first-aid kit as part of your shared home storage for restocking.
What’s the real difference between a day-hike kit and a backpacking kit?
A day-hike kit skips an entire category that a backpacking kit can’t: shelter, a sleeping system, and cooking gear. A day trip only needs the Ten Essentials, a daypack, water, snacks, and a weather layer, since you’re back to a bed and a kitchen before dark.
Is it safe to store a fuel canister or stove in more than one kit?
Don’t duplicate fuel across kits; keep one fuel canister with the backpacking kit and check its level before each trip instead of assuming it’s full. Whichever kit a stove or lantern lives in, the CDC’s rule applies everywhere: never run fuel-burning equipment inside a tent, camper, or other enclosed shelter, because of carbon monoxide risk.
Can one kit double for two trip types?
Yes, within limits. Car camping and an overnight trip with kids can share one camp kitchen box and tent, since both set up at a fixed site. Add the kid-specific first-aid items, medications, and comfort item on top rather than replacing anything, and keep each kit’s duplicate Ten Essentials pouch separate.
Sources
- National Park Service — Ten Essentials
- Olympic National Park — Wilderness Travel Basics
- CDC — Camping Health and Safety Tips
By campstorageguide.com Editorial Team. Last updated: November 12, 2026.
One thought on “How to Organize Camping Gear by Trip Type (Grab-and-Go Kits)”