
Camping gear grows mold and mildew in storage because moisture gets trapped against fabric, not because of which room it sits in. Dry every item completely, store it loosely in a breathable bag instead of an airtight stuff sack, and add silica gel sized to the container. The table below gives the exact airflow and silica-gel setup for garages, sheds, closets and apartment bins, so you can match the fix to your specific space instead of guessing.
Key takeaways
- Moisture is the cause in almost every case — the storage location only changes how much work it takes to control that moisture.
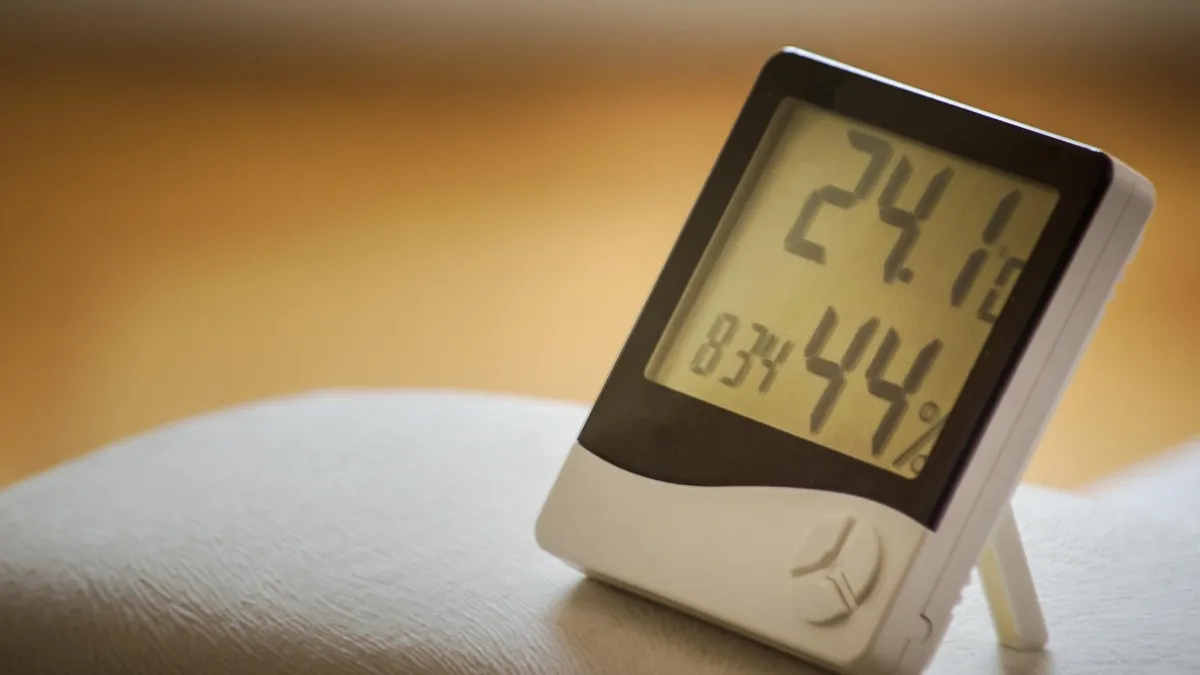
- The EPA’s guidance for indoor spaces also applies to enclosed gear storage: keep relative humidity below 60% (ideally 30-50%), and dry anything damp within 24-48 hours, since that’s the window before mold typically takes hold.
- REI’s storage advice is consistent across tents and sleeping bags: both need to be 100% dry and stored loosely in a breathable bag, never a tight stuff sack, and never in a damp basement or an unheated attic.
- A single handful of 1-gram silica gel packets is not enough for a 60-liter tote — sizing the dose to the container matters more than just tossing a packet in.
- Garages and sheds need more airflow work and more silica gel than a closet or an apartment bin; the table below spells out exactly how much.
How Do You Prevent Mold and Mildew on Camping Gear in Storage?
Mold needs three things to grow: a food source (the fabric, foam or canvas itself), a temperature in the range most homes already sit in, and sustained moisture. You can’t change the first two, so prevention comes down to controlling the third — moisture — through three habits: drying gear fully before it’s ever put away, choosing a breathable container instead of a sealed one, and adding a desiccant sized to the space. Get those three right and the location matters far less than most guides suggest.
This article focuses on prevention, not fixing gear that’s already moldy. If you’re deciding which room to use in the first place, our complete camping gear storage system guide covers how to split gear across a garage, shed, closet or apartment; come back here once you’ve picked a space and need the moisture-control setup for it.
What’s the Moisture and Silica Gel Setup for Each Storage Location?
Every storage location carries a different baseline moisture risk, and that risk should drive how much airflow work and silica gel you add. The chart and table below break out the setup for the four most common spots: an attached garage, a detached shed, an interior closet, and an apartment storage bin (under-bed or in-closet).
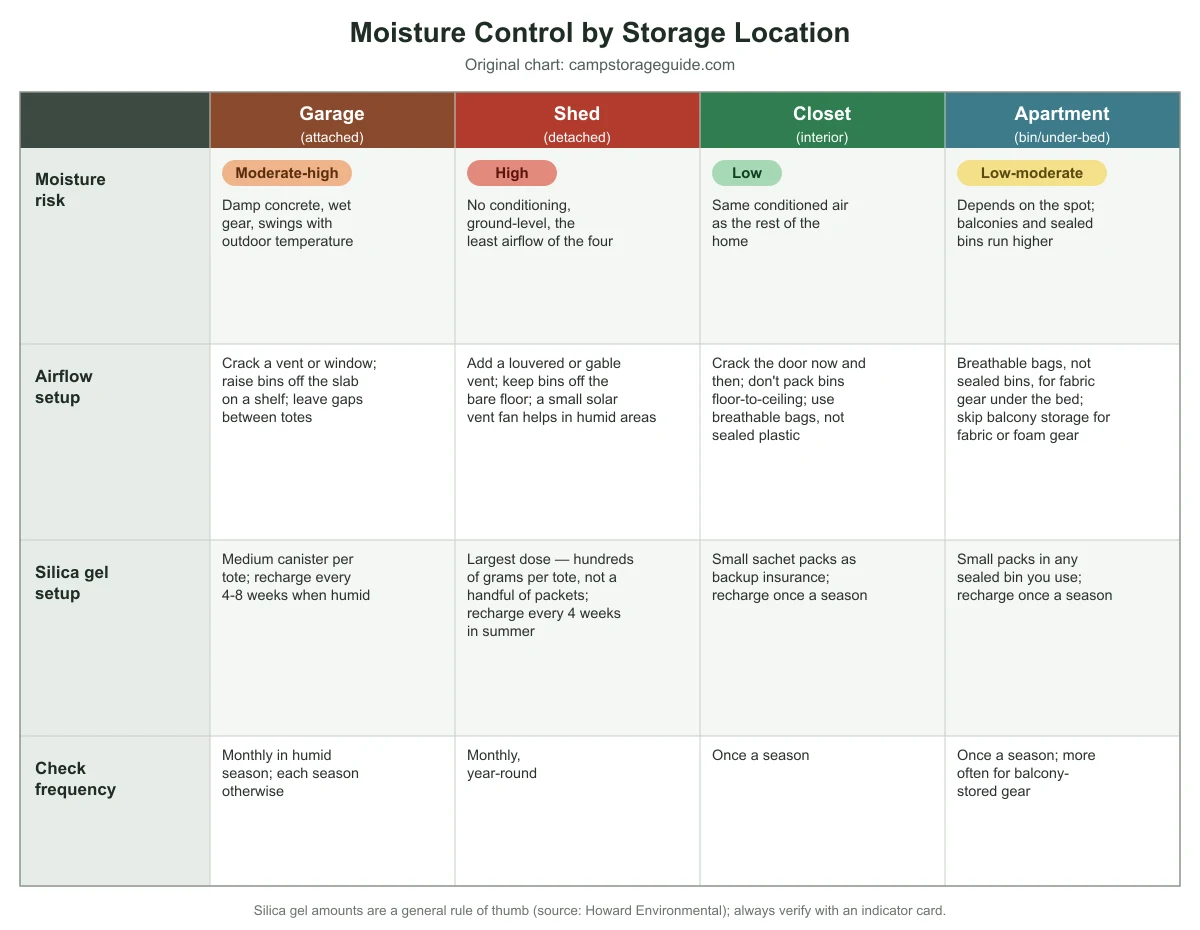
| Location | Moisture risk | Airflow setup | Silica gel setup | Check frequency |
|---|---|---|---|---|
| Garage (attached) | Moderate-high — damp concrete, wet gear tracked in, swings with outdoor temperature | Crack a vent or louvered window; raise bins off the bare slab onto a shelf; leave a gap between stacked totes for air to move | A medium silica gel canister per tote; recharge every 4-8 weeks during humid months | Monthly in humid season; once each season the rest of the year |
| Shed (detached) | High — no heating or cooling, sits at ground level, gets the least airflow of the four | Add a louvered or gable vent if it doesn’t already have one; keep every bin off the bare floor on a pallet or shelf; a small solar-powered vent fan helps in humid climates | The largest dose of the four — plan on hundreds of grams of silica gel per tote, not a handful of 1-gram packets; recharge every 4 weeks in summer | Monthly, year-round |
| Closet (interior) | Low — shares the same conditioned air as the rest of the home | Crack the door occasionally rather than keeping it sealed shut; don’t pack bins floor-to-ceiling; use breathable bags (a cotton sack or old pillowcase), not sealed plastic, for tents and sleeping bags | Small silica gel sachet packs as backup insurance, not a primary fix; recharge once a season | Once a season |
| Apartment (bin or under-bed) | Low-moderate — depends heavily on the exact spot; a sealed under-bed bin or a balcony runs higher than an open closet shelf | Use breathable storage bags rather than sealed plastic bins for fabric or foam gear under the bed; skip balcony storage entirely for anything with fabric, foam or down fill | Small silica gel packs in any sealed bin you do use; recharge once a season | Once a season; check more often for anything stored on a balcony or near a window |
Reading the pattern across the table: the two spaces outside the home’s conditioned envelope — the garage and the shed — need meaningfully more airflow work and silica gel than the two spaces inside it. If your gear is split across more than one location, apply the row that matches each item’s actual resting place, not just the location you think of as your main storage spot.
How Do You Dry Camping Gear Completely Before Storing It?
Drying gear fully, every time, before it goes into storage matters more than anything you do to the room itself. REI’s published care guidance for tents is direct about this: a tent put away even slightly damp will develop mildew, which shows up as a musty smell or a flaky, tacky coating on the fabric. The fix is to pitch or hang the tent until it’s bone dry, then store it loosely in a breathable bag — an old pillowcase or a mesh sack works — rather than the tight stuff sack it ships in, since tent fabric needs to breathe during long-term storage.
REI gives nearly identical advice for sleeping bags: dry the bag fully by hanging it over a line or a large hanger for several hours out of direct sunlight (UV exposure weakens the fabric over time), then store it loose in a large breathable sack — the jumbo cotton bag most sleeping bags ship with, or a king-size pillowcase if yours didn’t come with one. REI specifically recommends against damp basements and unheated spaces like garages and attics as long-term homes for a sleeping bag, for the same moisture reasons covered in the table above.
The same logic extends to anything else with fabric, foam or canvas: camp chairs, tarps, rain flys and footwear should all be fully air-dried before they go into a bin, not just wiped down. If you’re not sure a damp spot will fully dry before you need to pack up, give it another hour rather than storing it anyway — that’s the detail most “clean and store” checklists skip.
How Do You Set Up Airflow in a Garage or Shed?
A garage or shed has no HVAC system pulling moisture out of the air, so you have to create airflow by hand. Start with the bins themselves: keep every tote off the bare concrete or dirt floor on a shelf, a pallet or even a couple of scrap 2x4s, since ground contact is the single biggest source of dampness in both spaces. Leave at least an inch of space between stacked bins so air can actually move around them instead of trapping humidity in a sealed stack.
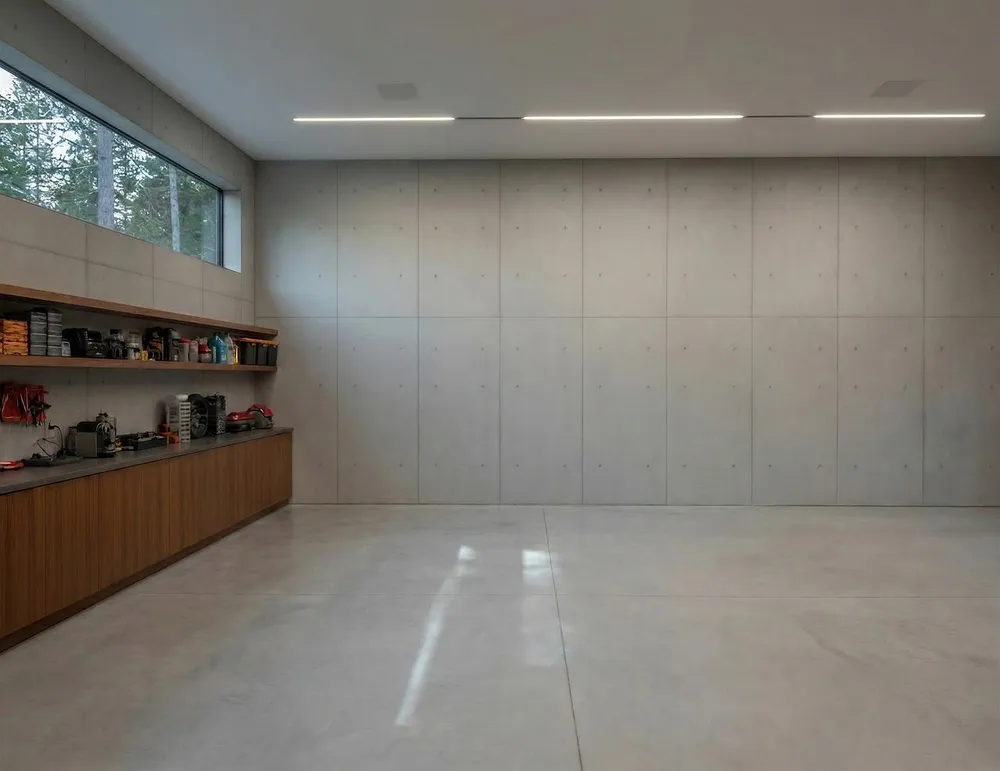
For a garage, cracking a window or adding a simple louvered vent gives stale, humid air somewhere to go; running the garage door opener for a few minutes on a dry day has the same effect. For a shed, which typically has even less airflow than a garage, a gable or louvered vent is worth adding if it doesn’t already have one, and a small solar-powered vent fan is a reasonable upgrade in a consistently humid climate, since a shed has no connection to the house’s own ventilation at all.

If you’re still deciding between a garage, a shed or a closet for a given piece of gear, our shed vs. garage vs. closet comparison scores all three on moisture risk alongside temperature, pests, security and access speed. And if your garage needs a full layout, not just a moisture fix, the garage zone-by-zone plan covers where each category of gear should physically sit.
How Much Silica Gel Do You Actually Need?
Most people under-dose silica gel badly. A single 1-gram packet — the size that ships inside a shoebox — does almost nothing in a 60-liter storage tote. Moisture-control supplier Howard Environmental puts it plainly: a bin that size needs “hundreds of grams, not a handful” of silica gel to make a real difference, and the goal is keeping the air inside the sealed container below roughly 50% relative humidity, which you confirm with a humidity indicator card rather than guessing.
How often you need to recharge or swap that silica gel depends on climate and how often the container gets opened. Howard Environmental’s practical guidance: expect to recharge every 4 to 8 weeks during a humid summer, less often through cooler months, and more often if you’re opening the bin frequently to grab or return gear. Most reusable silica gel canisters can be recharged in a low oven following the manufacturer’s instructions once their indicator beads change color — check the specific product’s instructions before doing this, since recharge temperatures vary by product.
Apply that dosing logic using the location table above: garages and especially sheds need a dose on the higher end of that range because they’re already fighting a higher baseline humidity; a closet or an apartment bin needs far less, since it’s starting from conditioned indoor air that’s already close to the target range.
How Often Should You Check Stored Gear for Mold?
A quick visual and smell check catches a moisture problem long before it ruins anything, and the right frequency tracks the same risk pattern as the table above. Garages and sheds deserve a monthly check during humid stretches of the year, since their higher baseline moisture means a problem develops faster and goes unnoticed longer in a space you’re not walking through daily. A closet or an apartment bin can usually get by on a once-a-season check, since the conditioned air around it changes far less.
When you check, open the bag or bin fully rather than peeking through a zipper gap, and look specifically for a musty smell, dark spotting on fabric, or a tacky feel on coated surfaces — all three show up before mold becomes visible as a solid patch. Catching it at that early stage means a quick re-dry in the sun usually solves it, instead of a deeper clean.
Frequently Asked Questions
How long does it take for stored camping gear to develop mold?
Based on the EPA’s general guidance for wet materials, mold can begin growing within 24 to 48 hours once something stays damp in a warm, low-airflow space. That’s why drying gear fully before storage, not just “mostly dry,” is the single most effective prevention step.
Should I use airtight plastic bins or breathable bags for camping gear?
For fabric items like tents, sleeping bags and rain gear, REI recommends a breathable bag, such as a cotton sack, mesh bag or pillowcase, so the fabric can keep breathing in storage. Airtight plastic bins work well for hard-sided gear like cookware or already-dry, non-fabric items, but sealing fabric into an airtight container traps any residual moisture against it.
How do I know when to recharge or replace silica gel packets?
Most reusable silica gel includes a color-changing indicator bead or card: when it shifts from its “dry” color to its “saturated” color, it’s time to recharge. As a general guide from moisture-control supplier Howard Environmental, plan on recharging every 4 to 8 weeks in a humid summer and less often in cooler months, and check sooner if you’ve opened the container often.
Is a dehumidifier worth it for a garage or shed used for camping gear?
If your garage or shed regularly reads above the EPA’s 60% relative humidity threshold on a hygrometer, a small dehumidifier is a reasonable addition alongside — not instead of — the airflow and silica gel steps above. For spaces that only occasionally cross that line, the vent-and-desiccant setup in the table is usually enough on its own.
Sources
- US Environmental Protection Agency — A Brief Guide to Mold, Moisture and Your Home
- REI — How to Store a Tent
- REI — How to Store a Sleeping Bag
- Howard Environmental — Silica Gel Packs for Mold-Free Storage
campstorageguide.com Editorial Team. Last updated: November 12, 2026.